DIY Mulching Guide
Mulching isn’t just about choosing the right material; it’s also about how you use it to enhance your landscape. With our DIY mulching guide, we’ll provide step-by-step processes for two popular mulching projects: creating mulch paths and installing mulch around trees.
DIY Mulching Guide: For a Path
Materials Needed:
- Shovel
- Edging material (optional)
- Landscape fabric
- Mulch of your choice
- Wheelbarrow
- Rake
Steps:
- Plan the path’s layout and mark it with spray paint or string. Use edging material if desired to define the path’s borders.
- Remove existing grass or vegetation from the path area using a shovel.
- Lay down landscape fabric to suppress weed growth.
- Spread a layer of mulch evenly over the fabric, about 2-3 inches deep.
- Use a rake to even out the mulch and create a smooth path surface.
- Compact the mulch slightly with a wheelbarrow or by walking on it.
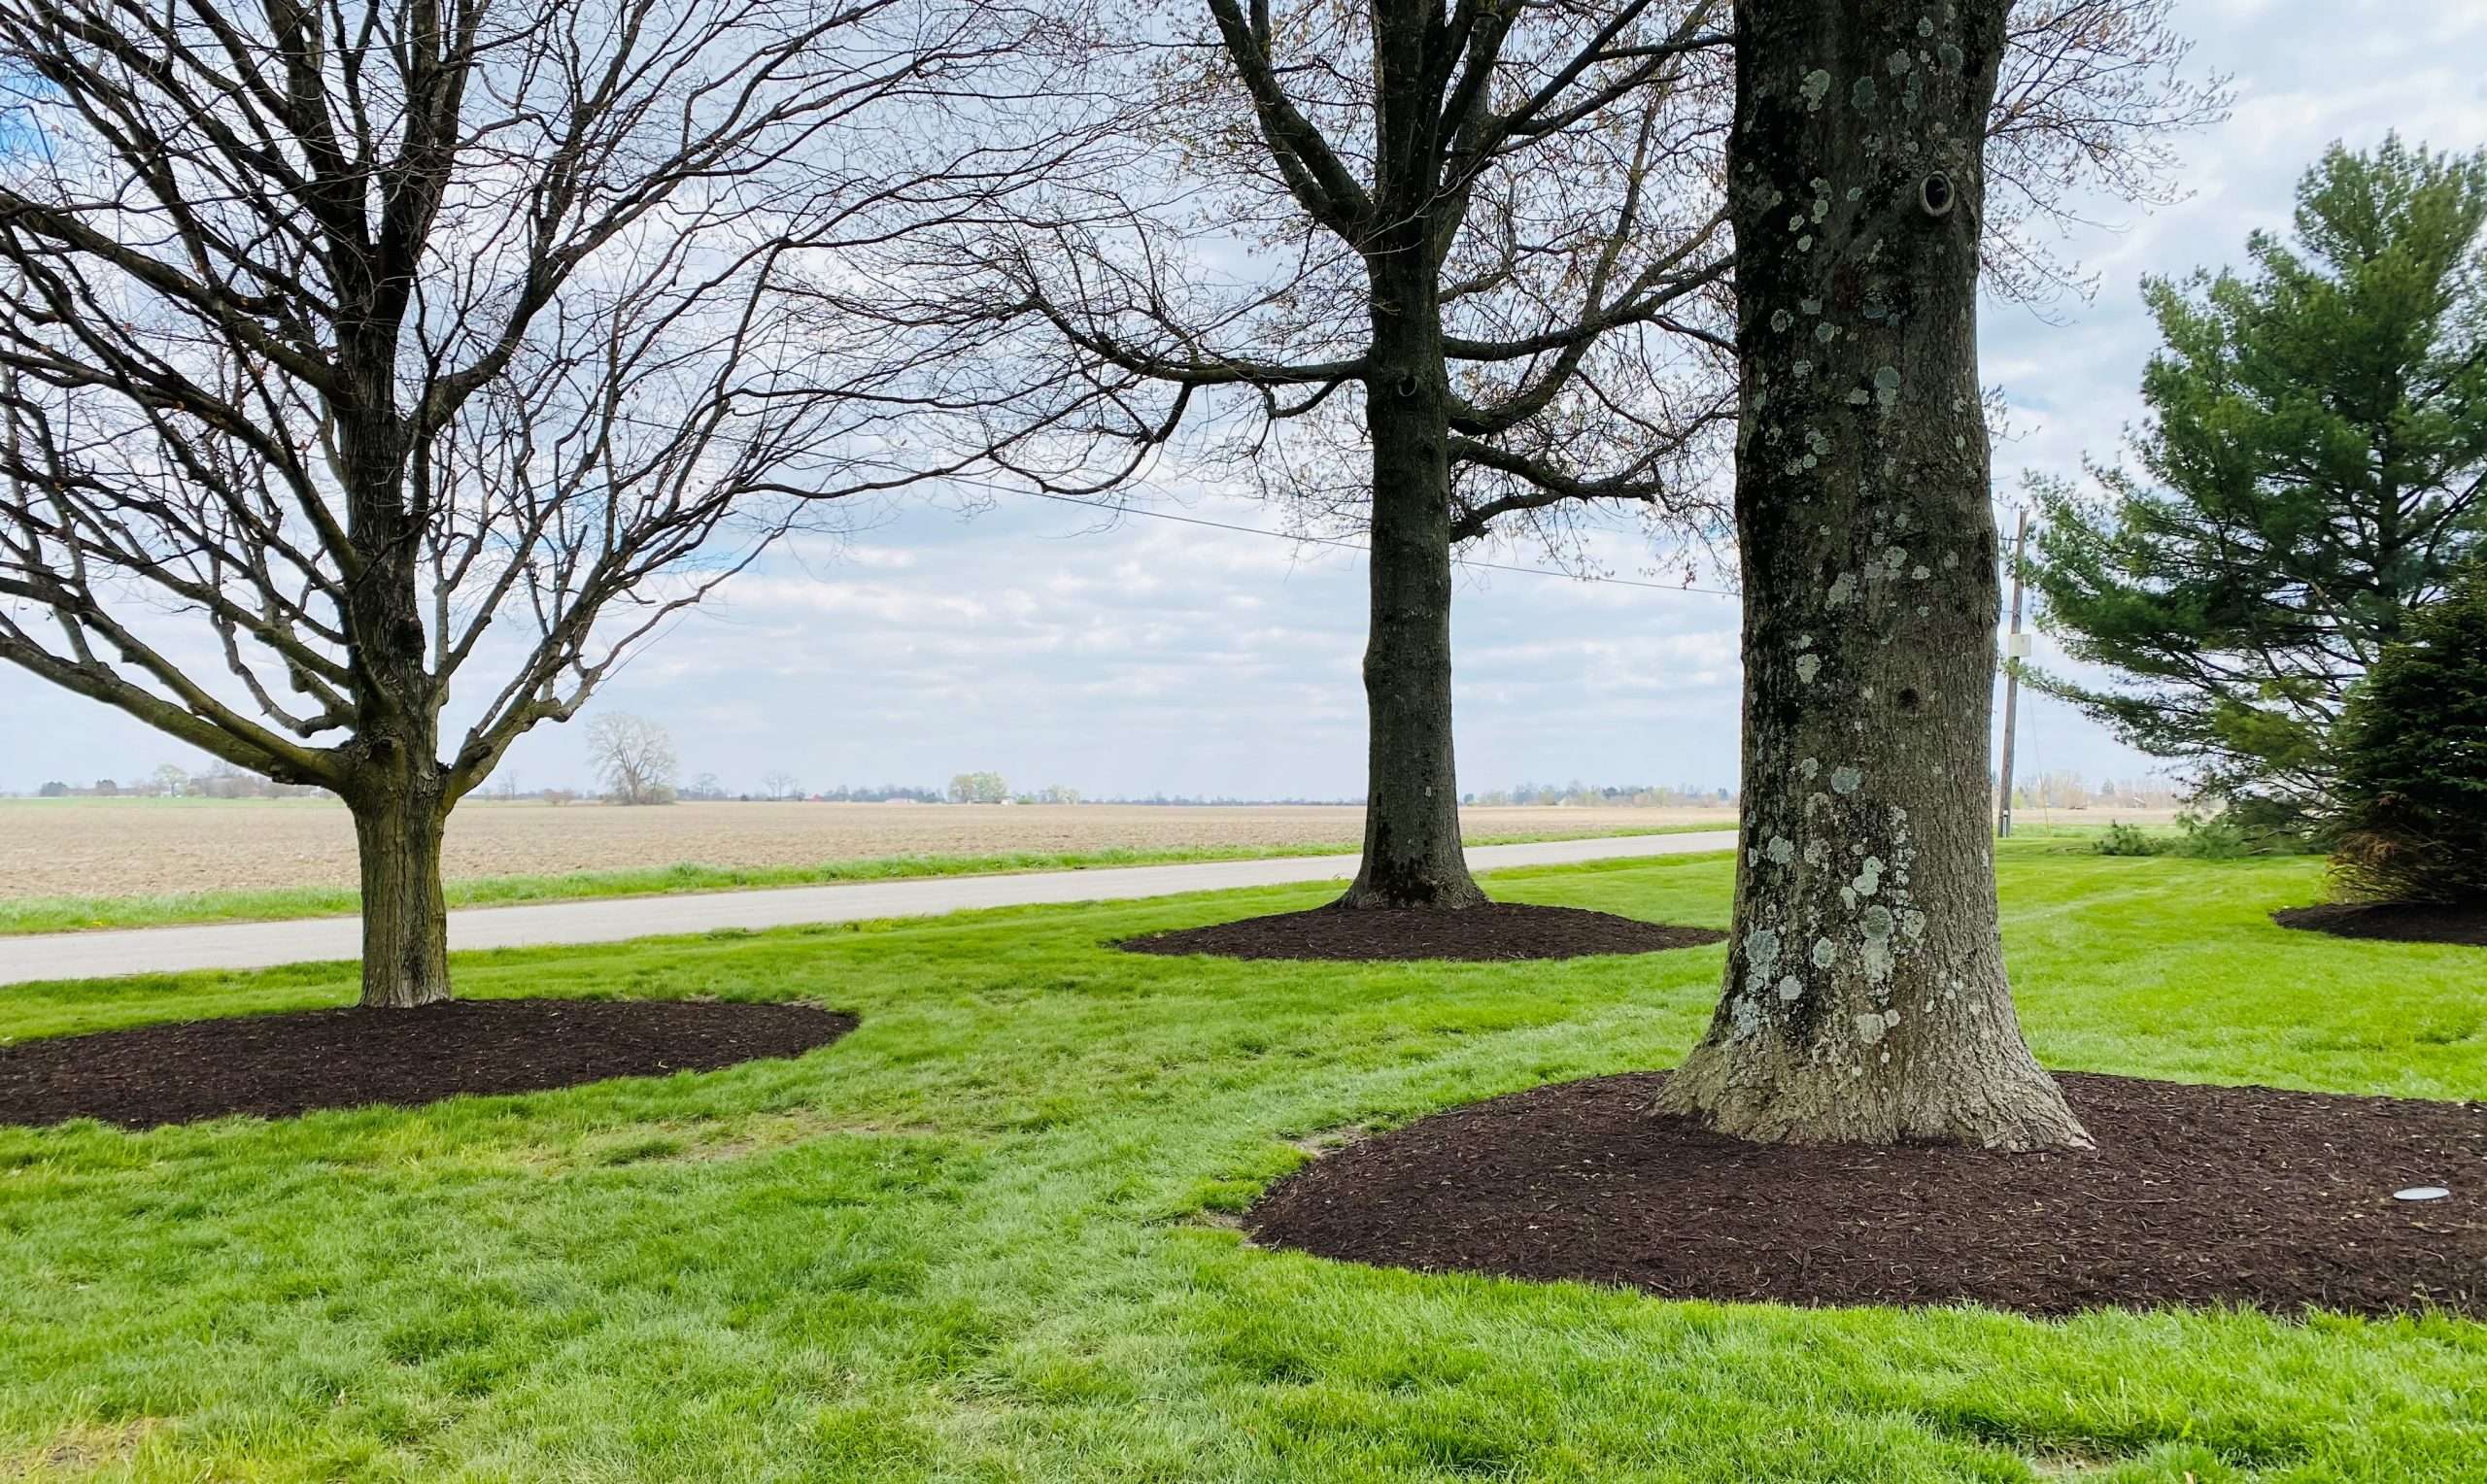
DIY Mulching Guide: For Tree Mulching
Materials Needed:
- Mulch
- Shovel
- Rake
- Gloves
Steps:
- Determine the mulch ring’s diameter around the tree. It should extend at least 2-3 feet from the tree trunk.
- Remove any grass or weeds from the area.
- Spread a layer of mulch around the tree, making sure it’s 2-4 inches deep. Keep the mulch away from the tree trunk to prevent moisture buildup.
- Use a rake to create a slight depression in the mulch, forming a well to retain water.
3 Safety Tips:
- Wear gloves to protect your hands.
- Use caution when using sharp tools like shovels.
- Lift mulch bags and wheelbarrows properly to avoid strain.
By following this DIY mulching guide and these safety tips, you can enhance the beauty and functionality of your Indianapolis landscape while also preserving the health of your plants.